

The wood looks a little old, but other than that it's in great condition. For what I paid, I'm very happy.
*I have not defected on the Newport, in fact, I'm ready to put up some walls, however I need my DH's help to cut out the openings for the new doors and windows before I can do that. As soon as he does that you will start to see some progress, (hopefully this weekend!).
I have a handle on how the beginning of the build goes(from helping out previously on this build), so I started by doing some early prep work. Even with knowing how to start this build, I did read and read and read the directions and put in a note or two on where I should stop, in order to be able to do what I have planned for the house, (in regards to the lighting, decorating, etc.).
I put a coat of Minwax Cherry stain on the first and second floors, I'm very happy with how the over-all color came out. I do need a second coat and a poly on this too, but so far, so good!

I then primed the beginning interior walls for assembly. I have a plan for how I will decorate the interior and exterior and priming is a good place to start. The walls will be covered, but the wood is a little bit old and is dry, so that first coat of paint is a necessity this time.
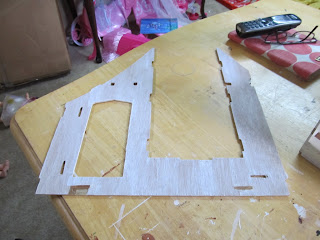
The front wall was confusing to me at first. I popped out the very bottom tabs thinking they attached into the front part of the first floor, I was wrong. There are two sets of tabs, the very bottom ones are what the front base locks into to create the front yard and fence. The tabs "above" (one tab is the front door) the very bottom ones are what lock into the first floor.

I then assembled the side wall...

Wall A...

And the back foundation wall...

I am going to let the structure dry for a while at this point...and see what's on deck for the next part... :)
No comments:
Post a Comment