Tuesday, February 12, 2013

Fairfield Kitchen ~ Part I

I mentioned in a previous post (or two) that I'd built out a new small wall in the kitchen which eliminiated the kitchen pantry/closet.  I didn't find it necessary to have that element in the kitchen due to the large pantry piece going into the room. 

I got that all glued together and filled in, then I realized the side closest to the dining room needed some work.

Here's the "Before" shot...
 The wall is very crooked to the main wall, that needed to be altered before I could continue, as I didn't want the wallpaper or anything else to mess up because of this one little section...

The "After" shot...
I used some trim-stock that I had in my stash to fix the wall.  It looks odd like this, but it will be covered with wallpaper so it doesn't really matter...

I also mentioned in previous posts that I cut the wiring channel for the kitchen light, and that I found a new ceiling paper, it's by Mini-Graphics and I really like it.  It's just plain white with a small texture design to it.  I installed that permanently and then installed the light... (the light at this point is still remove-able). 


When I install my ceiling paper, I make little laps/ridges that come down the side walls, (you can see in the above photo), to help ensure that I haven't missed any spots with either bad measurements or crooked walls or what-not. 

I then got to work on the kitchen floor.  I used the embossed paper-backed tile floor sheets that I got from Earth and Tree.  These were a quite easy installation.  I used a template for the floor and marked where I needed to cut, and cut to fit.  Being paper-backed I glued it on with wallpaper mucliage. 


I definitely had to piece together the floor in a couple spots, I know that I was left with a seam, but I'm really happy with how it came out overall.  I cleaned it and covered it with my favorite finish, Varda protective glaze by Ikea.  It came out beautifully in person, (this shot is before the cleaning and glaze), I am hoping that once the cabinets are in, the walls are up and the decor is finished, you won't be able to tell where the seam is...  We shall see!

I then tore it up...

I kept going back to the seams, (three of them) and finding them each and every time I looked at the floor.  I knew that wouldn't do.  It also kept screaming to me "STERILE!"...it seemed soo sterile for my design direction with this house... I hated to do it, (because it was pricey), but I will use what I have left over for the bathroom...I think I can warm it up in the bathroom...

I opted instead to carry the wood floors that will be in the rest of the house into the kitchen...
The entire floor will be stained to the darker color that you see, (I had stained some pieces for color reference), (the entire house flooring will be this color also), the stained pieces just happened to be the right length so after ripping up tile I figured waste-not-want-not... :P

Close-up
If you can tell my little pattern design in the floor.  I have yet to see this design in miniature, (at least to the level I plan to take it), and I really like it.  A visual effect for the eye... I got the idea from another Fairfield in a blog and on the Greenleaf forum.  I saw it in her attic around the chimney stack and thought it would be really cool to do it...I have some ideas of where-else I will take this design also. 

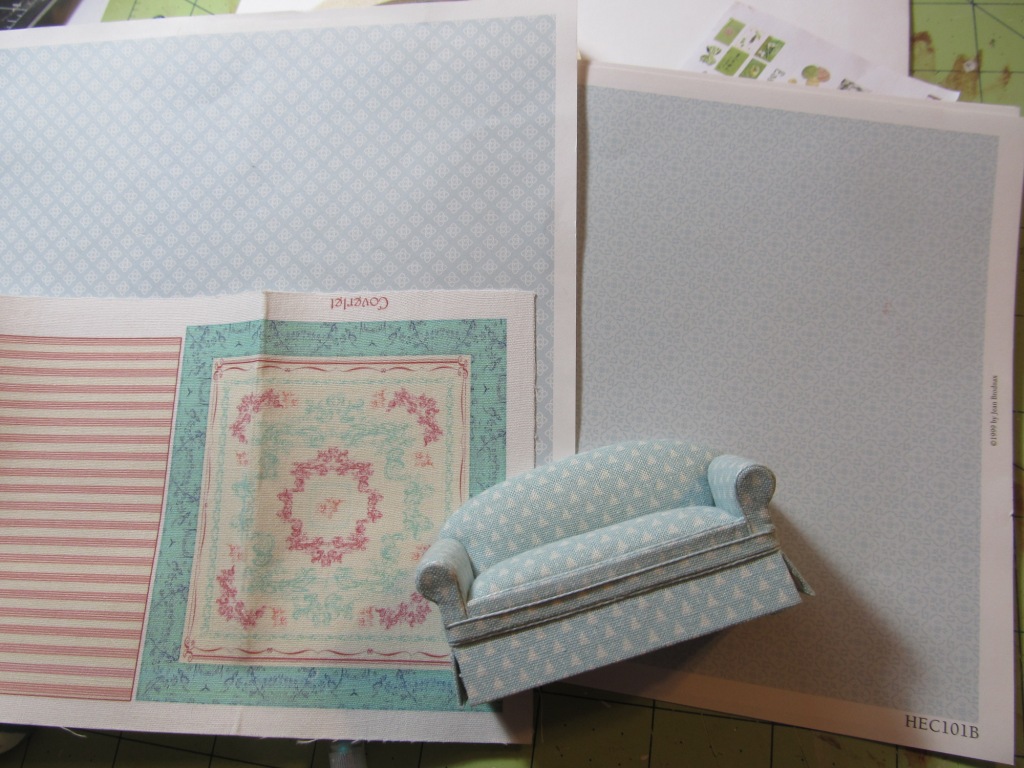
I thought I would leave you with one last image...I keep saying "shabby-chic"...here are some of my design ideas/decisions... you will have to wait to see where and how these items are though...

Friday, February 8, 2013

A Post Re-Traction...

So I'm taking back part of my last post!!!

I stated in the post that I used only 10 sheets of Houseworks siding to side the house...that is incorrect.  I cut the siding too short (on ALL the pieces and now have to go back and purchase another package of Houseworks siding to fix it!).  So really in the end, it really will take only 10 sheets to cover the house, however, I have had to purchase 20!  :P 

In waiting for the kitchen wallpaper and the siding to arrive, I started work on some other tedious type tasks.  I also started work on the crown moulding for the kitchen, and got pretty far, but decided to stop until I can purchase more...(I want to make sure the patterns match!). 

On a side note - I just LOVE crown moulding!  I like it in every room of the house!  I was very inspired with crown moulding when I first saw it in another miniaturist house, it's German, and I do not have the link, but it's my all-time favorite!  (I will look if I get the requests).  It took me a while to figure out how to cut it, especially with my easy cutter...but now that I know how to do it, I will use it all the time!  I do not love the "shortcut" (I call it), where there are squares in the corners...I find that it takes away from the overall look, especially in a period piece... I prefer to do the corners the way that I like them...

I made a journey out to Earth and Tree Miniatures...I really like that store, it's so pretty and there is so much more inside than there is on their website, if you can ever make it there, please make the stop, it's worth it!  Here are some of the treasures I picked up...

Half Scale Tile Floor...
 The flooring was more than I would have liked to pay for it, but I have enough to cover both the kitchen and the bathroom.  Plus, I really liked it and my only other option, (because I didn't like anything else), was to do wood floor in those rooms...so this worked for me!

 Beadboard and chair rail... 
I've worked with this exact product before and I really like it.  The sides interlock so there is no seaming, unlike others that I've seen, I also really like the chair rail moulding as I find it completes the look. 

Wood Turnings...
I found these and loved both of the patterns, so I decided that rather than chose I would get both.  The pattern to the right will go to the two downstairs fireplaces, the pattern to the left will go to the two upstairs fireplaces, (these will all be used to help make mantels/surrounds)...the middle pieces I love and have a plan for also. 

Thursday, January 31, 2013

Fairfield Kitchen and Bath Pt. #2

I'm really hoping that trim is as forgiving as everyone else claims it is, because I'm going to need a LOT of it!

I had a few more structural needs to address before any permanent gluing could take place, so I tried to hammer out those details in one day.  The first was to cut the wiring channel for the kitchen light.

I'm using a Houseworks 1/2scale Tulip ceiling lamp.  There are many 1/2scale fixtures out there, most of which are out of my price range.  While I do intend to add lights, it's going to be on a budget, and it's only going to be one, maybe two lights to a room.  This works perfectly for my kitchen...

I found the center of the room and drilled my hole, then drilled the channel, (my dremel made short work of these tasks).  I am going to run the light down the exterior side of the kitchen, hidden behind some trim.  I next painted the ceiling, but I'm going to opt to cover it with something instead, just have to find the right something. 

I then began measuring and cutting the siding for the entire house.  I had just wanted to get the kitchen walls done, wanting full use of the walls for cutting out un-sided areas. 

I used used Houseworks 1/4"lap width, 12"Length.  I had one package already that included 10 sheets and wanted to keep going, really just to see how much more I would need to purchase.  I worked conservatively to make sure that I could get the most out of these 10 sheets and ended up getting the entire house pre-cut.  I do not need any additional siding!!!  (Happy dance in the budget!)... 

I've seen other Fairfields with different combinations of siding, shingles, bead board, etc.  I am siding pretty much everything.  The three side walls, (with the attic peaks) will be partial sided, the peaks will be shingled.  There was no crazy math involved in deciding where the siding would end and the shingles begin, to be completely honest I didn't want to waste any siding, so the shingles will begin where a full width of siding ends (siding from the very bottom), it really just eliminates cutting small amount off, and makes for cleaner lines. 

I'm very hopeful that the trim will be as forgiving as I've read...there will probably be more trim on the house than I'd like, but it will help to cover up the wonky edges that my saw created.  I used a mitre box saw with (I believe) a 42TPI blade, (the small teeth blade)...even with the smaller teeth it's a little jaggedy at the edges, but trim will (have to) cover! :)


Tuesday, January 29, 2013

Fairfield Kitchen and Bath Pt. #1

I know I told you I wouldn't be blogging too much on this, but I've had the time, so I've done the work, and of course I want to share it...

I worked mainly on getting the kitchen and bathroom ready for assembly.  I know that the directions say to install the main support wall first and build out the living room/dining room and then move on to the kitchen and bathroom...however knowing that the kitchen and bathroom are going to require the bulk of the structural changes/work, I am opting to do those first. 

I am putting the main support wall up, but not as a permanent thing, it's taped into place, there is no glue being used yet...if I were to glue now, I wouldn't be able to access the entry-way later for decorating purposes...

This is what the house *should* look like once the kitchen, hallway and bath are finished, before the main support wall goes in... (it gives me the opportunity to decorate the entry and 2nd floor hall without hassle of the main wall in the way, without doing it this way, this would be impossible later)...


I kept going back and forth on the windows for the kitchen and bath and ultimately decided on one window for the bath, (the width of the original window was perfect so I just filled in the lenght with a discard piece), and the bay window for the kitchen...I will add some trims later, but the height and width I was happy with so I just cut the edges of the window to size and cut out the middle beam from the wall (that split the two windows)...

The bath window I am quite happy with, being as high as it is, it creates a much better layout/design for my bathroom.  The bathroom kit that I am using is the Miss Lydia Pickett bathroom, so I needed the wall space to create the bathtub surround, the toilet surround and the sink surround...

 Finished Kit Picture...

Final Bath layout...

I'm very happy with this set-up for the bathroom and wouldn't be able to create this with that HUGE window right there!!! :)

Here is my RL inspirational photo that I am using for the kitchen.  Here they are using a garden window, but you get the idea.  I love this and would incorporate this into my RL house if I could!


The bay window in the kitchen opens that right up to be a perfect heigh for my sink counters also.  Interior trim will definitely be a saving grace here, but overall I couldn't be happier with this upgrade choice!  I will extend the countertops into the bay in the same manner as above...


Now that the windows were decided on and cut/filled in where needed I did the some of the final steps of prep-work for the kitchen so I can start gluing in the walls.  I built out a solid wall here the kitchen pantry would have been, opting for a cleaner look...I used some thin craft wood as opposed to balsa as the texture is more to my liking.  It fit perfectly (quite by accident) that the door trim sits just against it.  The final step for this room is to cut the ceiling channel for the light installation...

Sunday, January 27, 2013

More on the Fairfield...

So I have spent a couple days of doing tedious, but necessary things for the Fairfield.  Priming, sanding, cutting and filling in holes, sanding and cutting. 

Here are some changes to main walls that I've made...


(From the left ~)
#1 - I filled in the mantel holes on the fireplaces. 
#2 - I filled in the doorway on the kitchen wall
#3 - I cut a first floor window in one side of the tower
#4 - I cut railings from the staircase off the main support wall and the kitchen side wall

I then primed everything, painted underneath the two porch floors.  Primed the ceilings for paint, dry-fitted the kitchen again and came up with the final counter layout.  I had played around with adding a bay window to the kitchen, but have thus decided against it, I will stay with the two windows that are there. 


I did decide on another structural change...the bathroom window has got to go!  Who has such a large window in a bathroom, unless you live in a big house...seeing as this is the only bath in the house and that window takes up a lot of room, and privacy (for my invisible people living here), it has to go.  I am still up in the air about the two windows or just one, I am leaning towards just one.  Instinct will win out... ;)


Finally on the great idea of someone else, I decided to make the first floor fireplace a dual one...this will serve so many purposes, (to the invisible family)... :P  This was pretty easy to do, I had already built the fireplace unit so I just cut out the bottom middle, and I intend to have a working fire in there... I like it, actually I more than like it!!! :)  My grandma had a 3-sided fireplace in her home, and it brings back some memories to kind of re-create that... :)


Thursday, January 24, 2013

The Fairfield... All In A Day's Work...

If anyone is wondering, more/different items will be uploaded to my Ebay account on Monday for sale... :)

So I will be honest and say I'm not sure just how much blogging I will actually do on this house, but I had some free time and wanted to show you what one can do in one day!  :P

#1 - Take a picture of the box...

#2 - R&P almost ALL of the pieces, (even though you tell yourself you are not going to punch them all out, but you start on the sanding process, then get into a mode where you don't want to have to pick up this mess another day and another day and another day so you just do it anyways, good thing you labeled everything)...

#3 - Curse yourself over and over again for buying a die-cut house and not keeping tweezers nearby for the inevitable splinters, and the sanding mess you made all over your newly cleaned workspace.

#4 - Clean and Vacuum your messy workspace.

#5 - Change your clothes because they are covered in little wood chippings/splinters/dust.

#6 - Assemble the base, the fireplaces and dry-fit the house.

#7- Take the dry-fit apart 4 times to re-configure the tabs to make them work.

#8 - Play with some of your furniture that isn't even assembled yet just to see how it will look.

The #8 is where I'll pick up...  I will say that once on a miniature board, someone once said to me that you will never be able to fit the SDK/Miss Lydia Pickett kitchen into a Fairfield...

Said Kitchen...
Yes, it's a bit large, but there was no other kitchen that I honestly even liked.  This one fit the theme of furniture I am going with.  I bit the bullet and decided to purchase anyway, and modify it to something that would work for me.  I already knew I would have to fill in the side door, but not just for the kitchen, (more on that later).  Once I put the house in dry fit I took out some parts of the three major components...

Here's a layout I came up with...
The unit against the staircase is the pantry/double oven, the back wall is the left corner cabinet, (the cooktop) and under the window is the sink... The wall cabinets will also go on the main/back wall... I may switch the cooktop cabinet for the sink cabinet, but I also like the sink under the window...

The shelving under the stairs will be eliminated for a solid corner, and the pantry will bump out to look like one continuous unit with the cooktop cabinets.  I will do some trim/modifications here and there, but so much less than I expected it to be. 

I don't care that there is no space for a table, I have no use for an eat-in kitchen as the dining room is right there, however I think I could put in an island with a stool or maybe a small round table w/two chairs...

The sink counter even fits right at the window ledge for my liking, so I will have to alter how I do interior window trim and the backsplash, but it's better than being too high!  I can also lower this if I have to...there's a bottom lip on the base counters that could easily be eliminated... I plan to cut down the side of the counter a little so the sink is more centered under the window, but honestly I could not be happier right now!!!


Thursday, January 17, 2013

News & Full-Scale Clearance!

**Stick around the bottom of the post is sooo worth the read!**

So it's been a ver-y long time since I've posted and that is a large reflection on just how busy my life has recently become.  I wish it was a reason better than what it actually is, however it's just the really simple things that are clouding up my crafting time. 

With that being said, I am refocusing and realizing that with my darling little girl I just don't have the time to "miniature" the way that I used to be able to... I have decided to narrow down my focus...

I'm going to *attempt* the finish of the 1/2scale Buttercup, the Christmas house, I'm making strides although I haven't blogged on them.  I also am going to keep the Glencroft (for the future), but I'm going to focus now on just building half scale*.  I really want to work on a Greenleaf Fairfield.  I want a place to house all of my coveted "Miss Lydia Pickett" items, and I think this is the perfect fit for me.

*The Glencroft will be my only full-scale house and I imagine that it will take me some time to complete it. 

That being said... ALL (as in my ENTIRE) collection (x3 LARGE bins) of full scale, 1:12, items are up for sale/grabs/clearance/discount, etc. ...  Bear in mind I pre-bought for houses I never built!!!  So there is more than necessary and it's ALL available. 

The majority of the collection is Lee's Line, with some Macintosh Minis and a few Bespaq pieces for sale.  I am also parting with the Woodstock, the Newport, the Newport addition, and the Foxhall conservatory.  If you have ever parused my website, my gallery, etc. and see a piece that you want... Let me know, it's yours and it's offered very cheap...I'm just trying to re-coup some costs and get rid of it all...

Please check out my Ebay page as even more items will be added as other items sell... Please bear in mind only 1:12 items are for sale.  I plan to continue working in 1/2scale as I find it's a fit for me...I really like it... :)